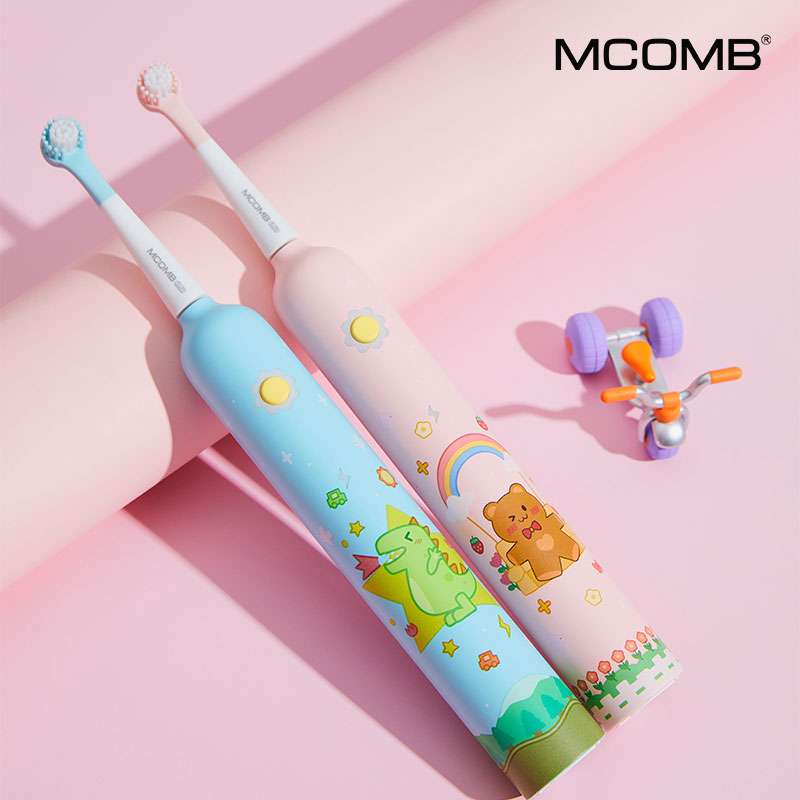
Toothbrush is an essential daily cleaning tool in our life. Most ordinary toothbrushes are replaced by electric toothbrushes. Now more and more people use electric toothbrushes, but during use, electric toothbrushes will have some problems more or less. Most of these problems can be repaired by yourself, so how to disassemble and repair the electric toothbrush?
Disassembly steps of electric toothbrush:
1. First remove the toothbrush head, then turn the bottom of the electric toothbrush, and the bottom cover will be pulled out.
2. Then remove the battery and pry off the buckle. If the buckle is not easy to pry, you can use a tool to pry off the buckle and tap the top of the electric toothbrush a few times to pull out the main core.
3. Take off the waterproof rubber cover, and then pry out the switch. Some electric toothbrushes have buckles installed on the outside of the motor, and some do not. After prying off the buckles, the motor can be taken out.
4. Next, repair according to the failure of the electric toothbrush.
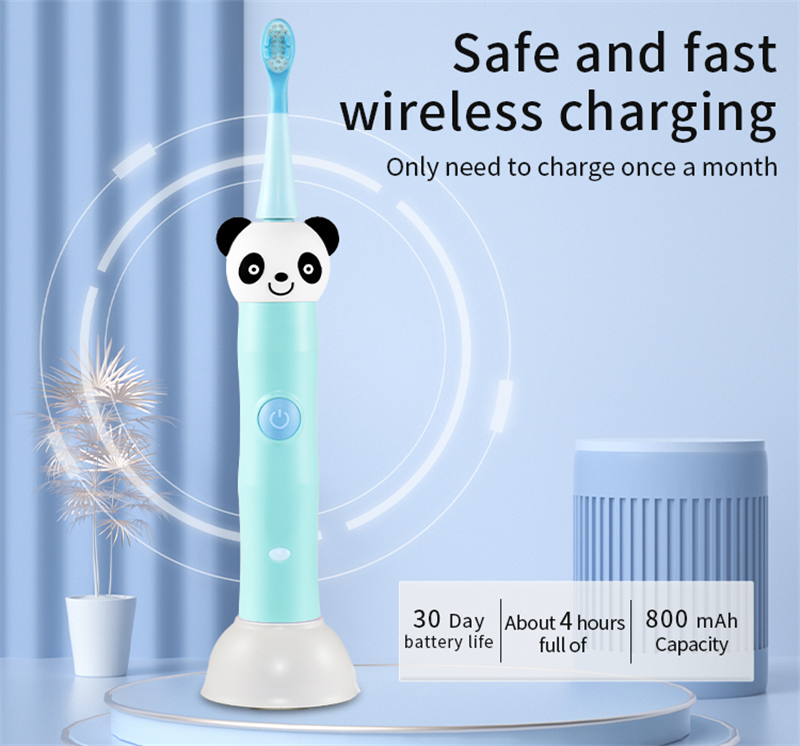
There is also an electric toothbrush with charging base, the disassembly method is slightly different from the above:
1. Open the bottom cover of the electric toothbrush. Here you need to use a straight knife, insert it into the charging port of the base, turn it hard to the left, and the sealed bottom cover will open.
2. After removing the toothbrush head, press firmly to the ground, and the whole movement will come out.
3. Finally, repair according to the failure of the electric toothbrush.
Post time: Dec-27-2022


